Photos by Victoria Reeder
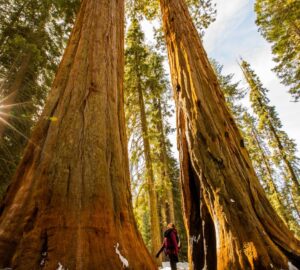
In the presence of the tallest and most massive trees on Earth, inspiration flows. But to harness that inspiration to capture the scale and grandeur of a coast redwood or a giant sequoia in a photo can feel as out of reach as the canopy overhead. “It’s probably my most challenging photography, but the most rewarding at the same time,” says photographer Victoria Reeder.
Reeder knows redwoods intimately—she was engaged to her partner (in photography and in life) Roy Williams in Kings Canyon National Park, was married in Mariposa Grove of Giant Sequoias, and celebrated her wedding reception at Big Basin Redwoods State Park. On top of that, she has also snapped some of our favorite images of redwoods, including some unreal shots of Alder Creek in winter.
We tapped her expertise to learn a few simple tricks, from the basics of iPhone shooting to tinkering with camera lenses. Ready to get your best redwood shots ever? Here are Reeder’s pro tips.
Know Before You Go
For many who come to see the redwoods, photos are an afterthought to the experience of seeing giants in the flesh. But if photography is the main objective of your visit, spend a little time prepping to make it a productive shoot. “Before we even decide to get in the car and go, I do a fair amount of research online,” Reeder says. “What are the roads going to be like? How accessible is it going to be by car? Is there going to be cell service or not? I treat it a little bit like backpacking or camping.”
Reeder uses an app called PhotoPills to get a sense of the light ahead of time. “If you’re in the mountains, sunset in the redwoods is going to be probably an hour before the actual sunset, because it sets over a ridge. PhotoPills is helpful because it accounts for things like that.”
Be at the Right Place at the Right Time
“In a redwood forest the light is changing every millisecond,” Reeder says. But even under the canopy, she likes the light best during the golden hour (a little more than an hour before and after sunset), when the sun is lower in the sky and the light has a diffused, softer quality.
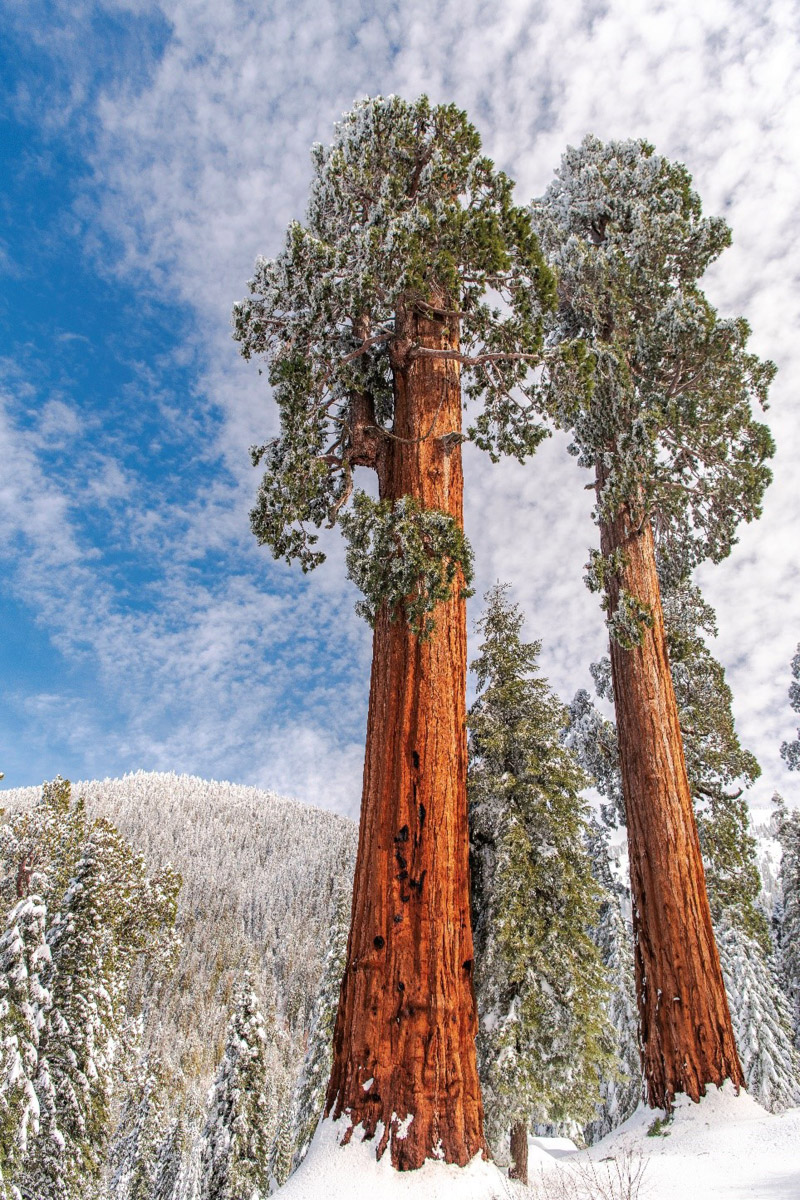
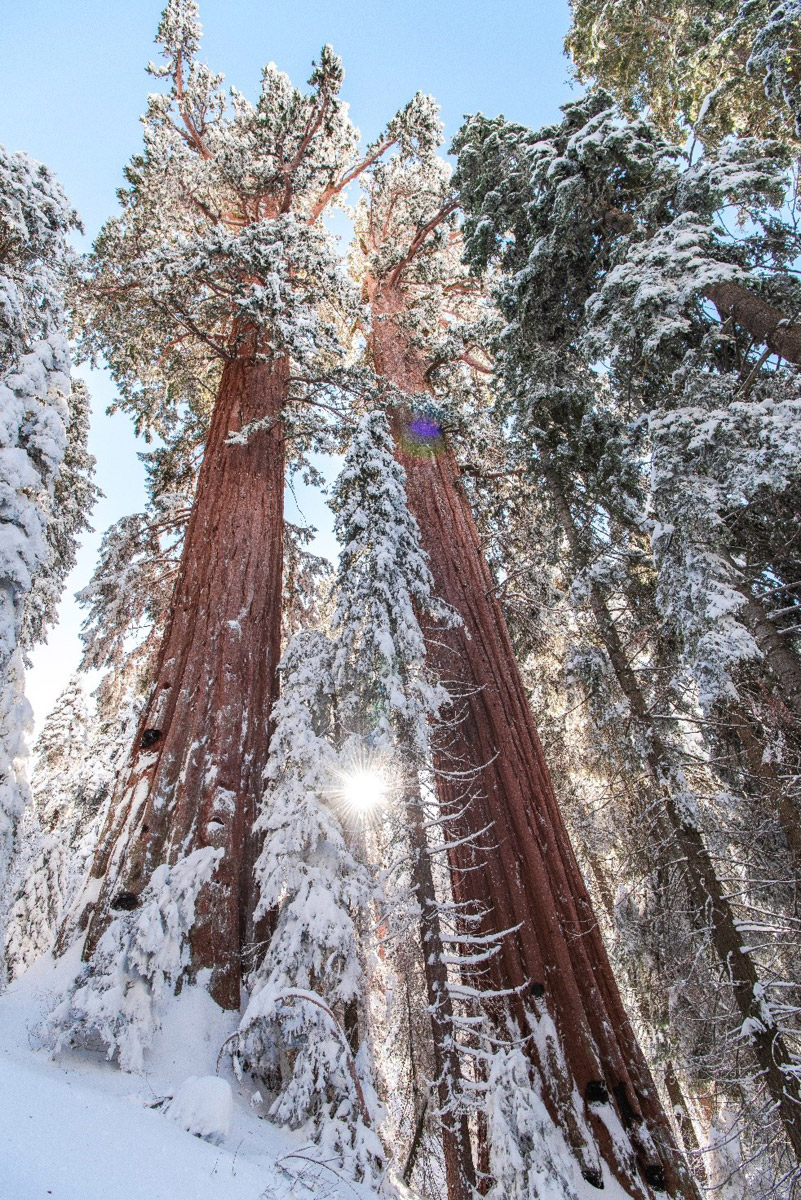
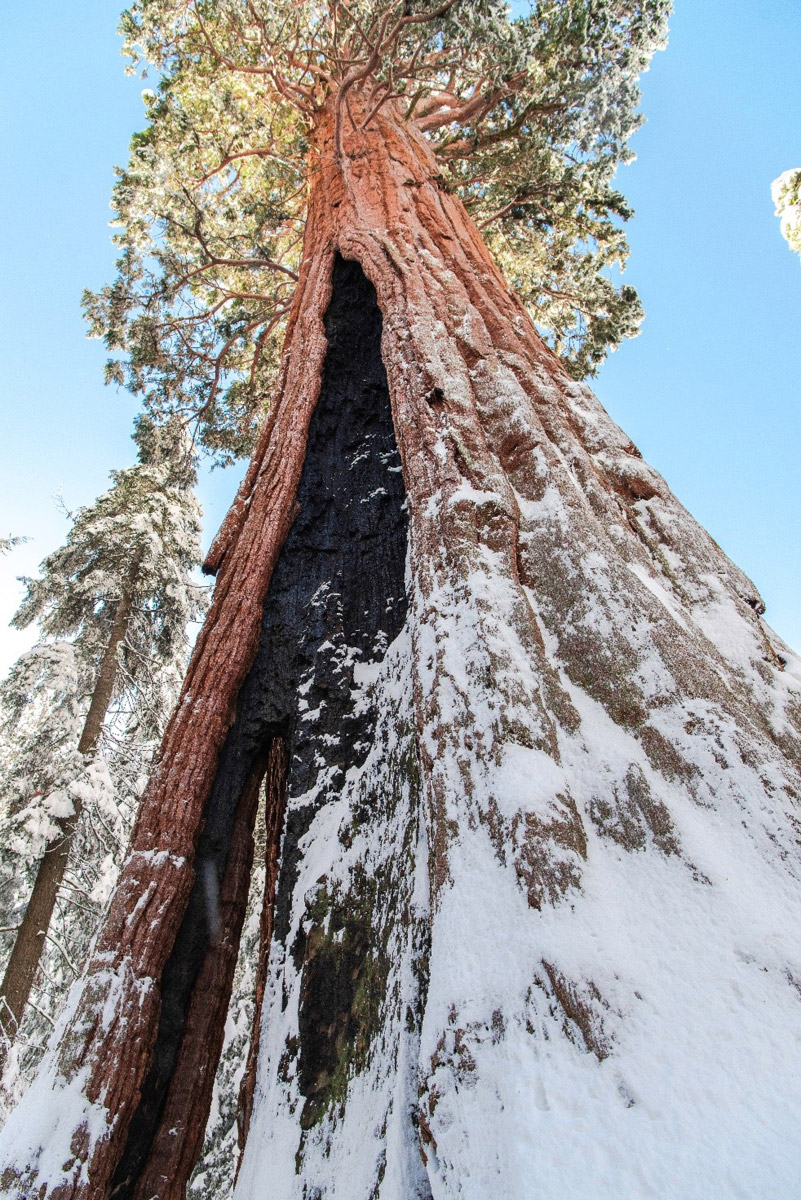
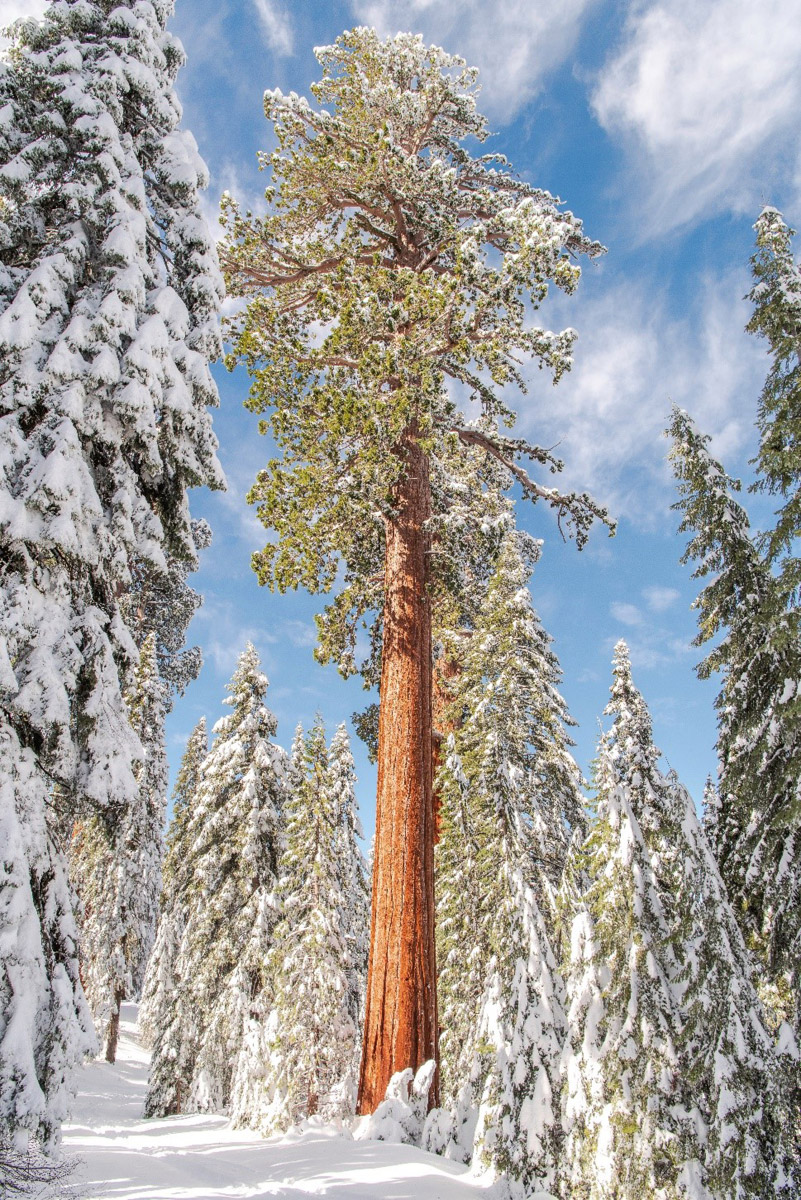
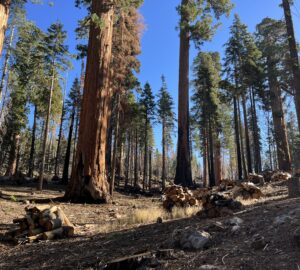
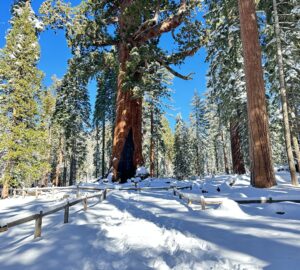
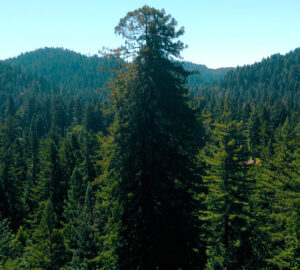
Seasonality is another element to think about. For instance, Reeder likes to shoot coast redwoods in the spring. “I love the morning fog, which deflects and reflects the light a little bit. And if you go up far enough north, you sometimes get rhododendrons and other flowers that are blooming at the base of the tree, and it’s just a beautiful contrast because the trunks of the coast redwood can sometimes be very dark.” Photographing giant sequoia blanketed in snow during the winter is her personal favorite. “I’ve done it both at Calaveras and at Alder Creek, and it was spectacular.”
Go Big or Go Small
Framing a redwood from bottom to top is challenging even for the most seasoned photographers. Reeder offers this simple, yet clever trick: “A really easy way to get the entire tree in the frame with your smartphone or tablet is to crouch or sit on the ground and turn your phone upside down so that the lens is actually closer to the earth.”
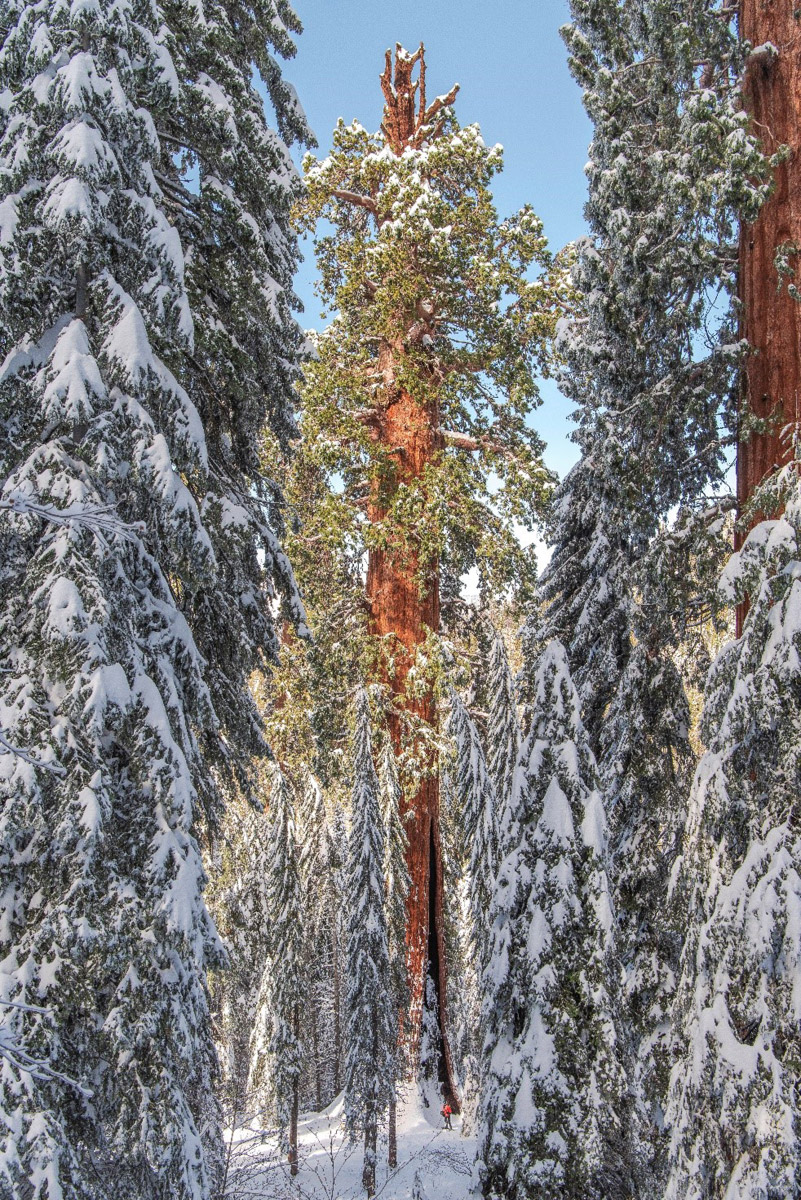
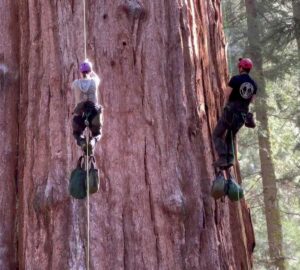
To truly capture a tree’s largeness, use perspective to your advantage by placing a person in the foreground. “But be careful to avoid climbing on the tree or stepping on the roots,” Reeder says. “They have such a shallow root system that we don’t want to cause damage.”
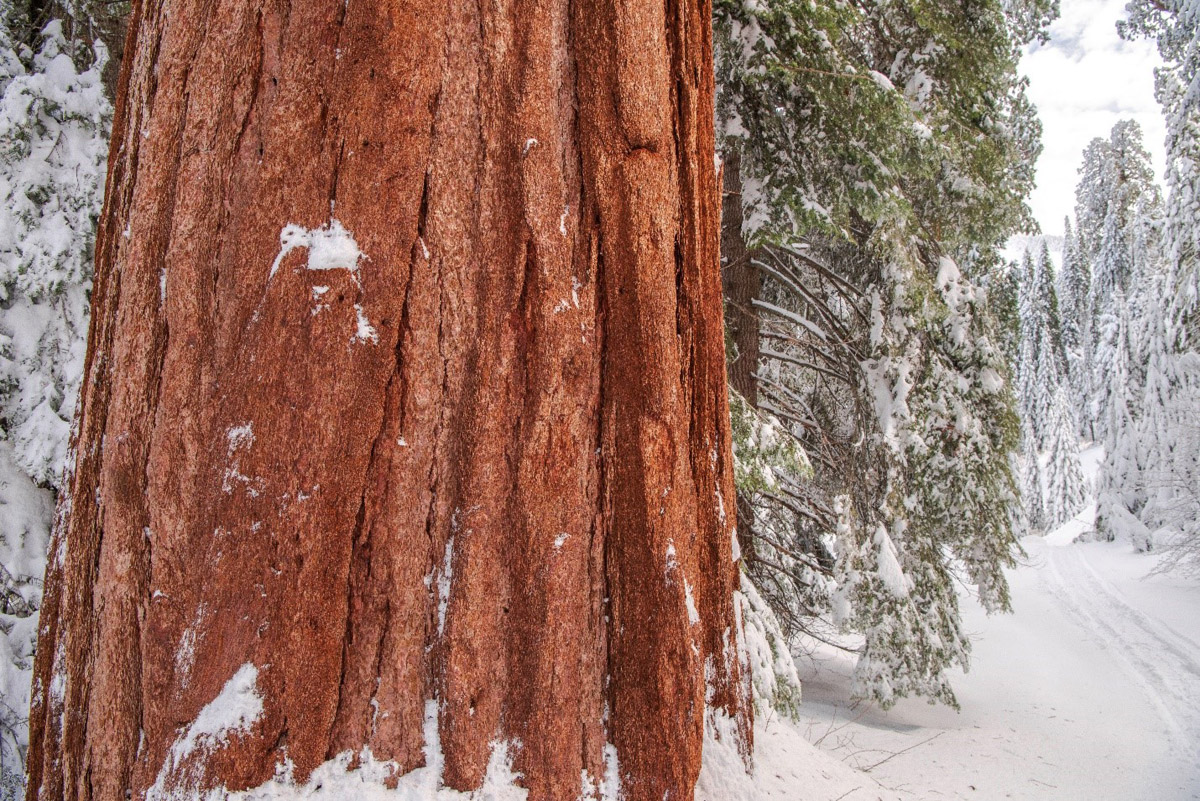
If you can’t get the whole tree in the frame, Reeder suggests instead focusing on details like the bark and needles, or even understory plants like ferns. “There’s so much to absorb and to document and memorialize.”
Phone It In
“The saying in photography is, ‘The best camera is the one you have with you.’ A lot of people think you have to have a big, expensive camera, but you don’t,” Reeder says. “Smartphones have really great cameras that can sense a lot of difference in light, and you just have to make sure it’s in focus.” However, you may have to adjust the exposure. Change the focal point on your smartphone or tablet by tapping the middle of the trunk.
The beauty of shooting with a phone is the freedom to experiment with filters on the fly. “The key is just have fun with it. Try experimenting with more saturation; or black and white sometimes helps with the severity if you’re shooting at noon and light’s really harsh pointing up at the tree,” Reeder says. “I use an app called Hipstamatic, and it’s like a throwback to early color 35mm film.”
Level Up Your Photography Skills
“I can’t stress enough, you do not have to have an SLR unless you are photographing for publication or printing large-size images,” Reeder says. But if you do want to get into more advanced shooting with an SLR or a digital SLR (DSLR) camera, she recommends a wider-angle lens for capturing coast redwoods and giant sequoia—but not too wide, since super wide or fisheye lenses are convex and create a curved distortion. Stick to 20mm or higher to avoid this issue.
The 50mm, aka the nifty 50, is the best all-around lens, according to Reeder. “The great thing about the 50mm is you might be able to get the whole tree in the frame, but it’s also a great lens for detail if you want to shoot the bark, the trunk, the needles, or the base of the tree.” She adds, “If you really like shooting macro, a 105mm lens is helpful to do flowers, a tiny little coast redwood pinecone, or needles in the spring.”
Get to Know Your Subjects
Choosing which trees to photograph doesn’t need to be complicated—it can be an intuitive process. “If I’m not on an assignment I photograph the trees that move me, that speak out to me,” Reeder says. “Just go and allow yourself to be and experience. Sit in quiet and listen to the sound of the birds, the wind, the trees. Smell all the smells, look at all the colors, and just see what happens.”
Out of all the magical redwood forests she’s visited, there are a few spots that stand out for shooting. “Prairie Creek Redwoods State Park is probably my favorite for coast redwoods. I think my favorite place for giant sequoia would be Sequoia National Park, in some of the less busy areas; and then Alder Creek is pretty spectacular. I didn’t grow up around coast redwoods or giant sequoia, but as soon as I started visiting relatives in California as a child, I just fell in love with the sequoia. I just feel so lucky anytime I’m around the old ones because there are so few of them left in the world.”
Learn more about the Alder Creek property and how you can help us ensure its permanent protection.

One Response to “6 Pro Tips for Shooting Amazing Photos of Giant Sequoia and Coast Redwoods”
Mario D. Vaden
In the redwoods, 35mm is the best all around lens. I was exploring with Chris Atkins a year ago, who brought his new camera and 50mm lens. He immediately realized 50mm was too wide for an only lens that day.
Tilt shift lenses are the “cat’s meow” for panorama, or getting more height without distortion. But wide angle are handy, even 12mm on a crop sensor like Canon’s M5 or M50
The past few years, I found myself shifting from 24mm to half or more at 35mm to 200mm. Just last month, I had a 300mm lens on Howland Hill Rd. in Jedediah Smith park to “compress” the scene looking down the old historic road.
Between Christmas and New Year, I’m headed back to Redwood National to try out various vintage lenses I bought recently, ranging from Nikon, to Zeiss, to Lieca. Winter is the best season in the coast redwoods for photography.